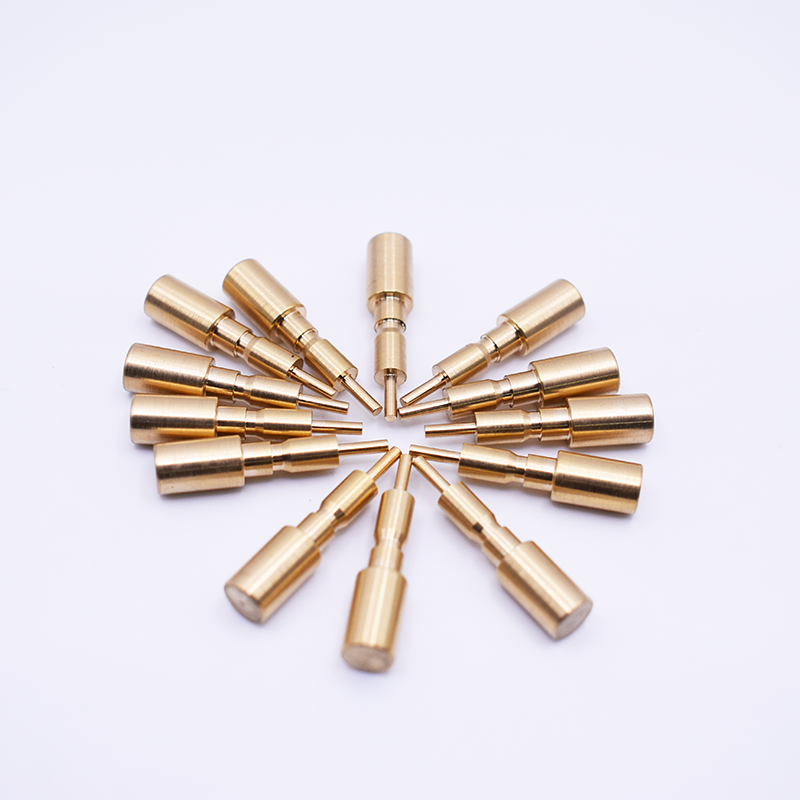

- Product Detail
-
Preparation Process
Material Selection: Materials to be processed are selected. Metallic materials such as steel, copper, and aluminum are used, as well as non-metallic materials such as plastic. Appropriate materials should be selected according to the material's characteristics, machining accuracy, and product application.
Workpiece mounting: Secure the workpiece using a chuck or fixture on the wheel bed. It is important to mount the workpiece with precision so that it does not swing when the workpiece is rotated.
Tool selection and installation: Select the appropriate cutting tool for the machining operation and mount it on the tool post of the car bed. Common cutting tools include external circular wheel knives, internal bore wheel knives, and threading knives.
Cutting Process
Outer circle machining: While the spindle rotates the work piece, the cutting tool is applied to the outer circumference of the work piece to cut away excess material to form an outer circle surface. This allows machining of external shapes such as shafts and cylinders. Highly accurate outer circular surfaces can be obtained by properly setting the cutting speed, feed rate, cutting depth, and other machining conditions.
Internal boring: To drill a hole in a work piece, an internal boring wheel knife is used to cut in the internal diameter direction. This includes bore drilling and reaming. In internal boring, the challenge is to machine a highly accurate internal hole with minimal runout of the tool.
Thread machining: Thread cutting tools are used to form threads. By precisely synchronizing the rotation of the work piece and the feed motion of the cutting tool, the desired thread pitch and thread profile can be machined. Thread machining includes not only simple threading, but also pipe threads and special threads.
End-face machining: Cutting the end face of a work piece to form a flat surface. End-face machining is used to adjust the length of a work piece or to create a joining surface with another part.Finishing Processes
Polishing: Polishing is performed to improve surface roughness after cutting and to obtain a high-precision surface. Polishing paste and abrasive brushes are used to smooth the surface of the work piece.
Measurement and inspection: The dimensional accuracy, shape accuracy, and surface roughness of the machined workpiece are measured to inspect whether they meet the design requirements. Micrometers, burners, and CMMs are used as measuring instruments. If there are rejected pieces, they must be corrected or reworked.Post-processing steps
Cleaning: Cutting debris, cutting oil, etc. adhering to the work piece after machining are removed to clean the surface. Methods such as solvent cleaning and ultrasonic cleaning are used.
Anti-rust treatment: Metal workpieces are treated to prevent rusting. Rust-preventive oil application, zinc plating, and chemical conversion coatings are common rust-preventive methods.
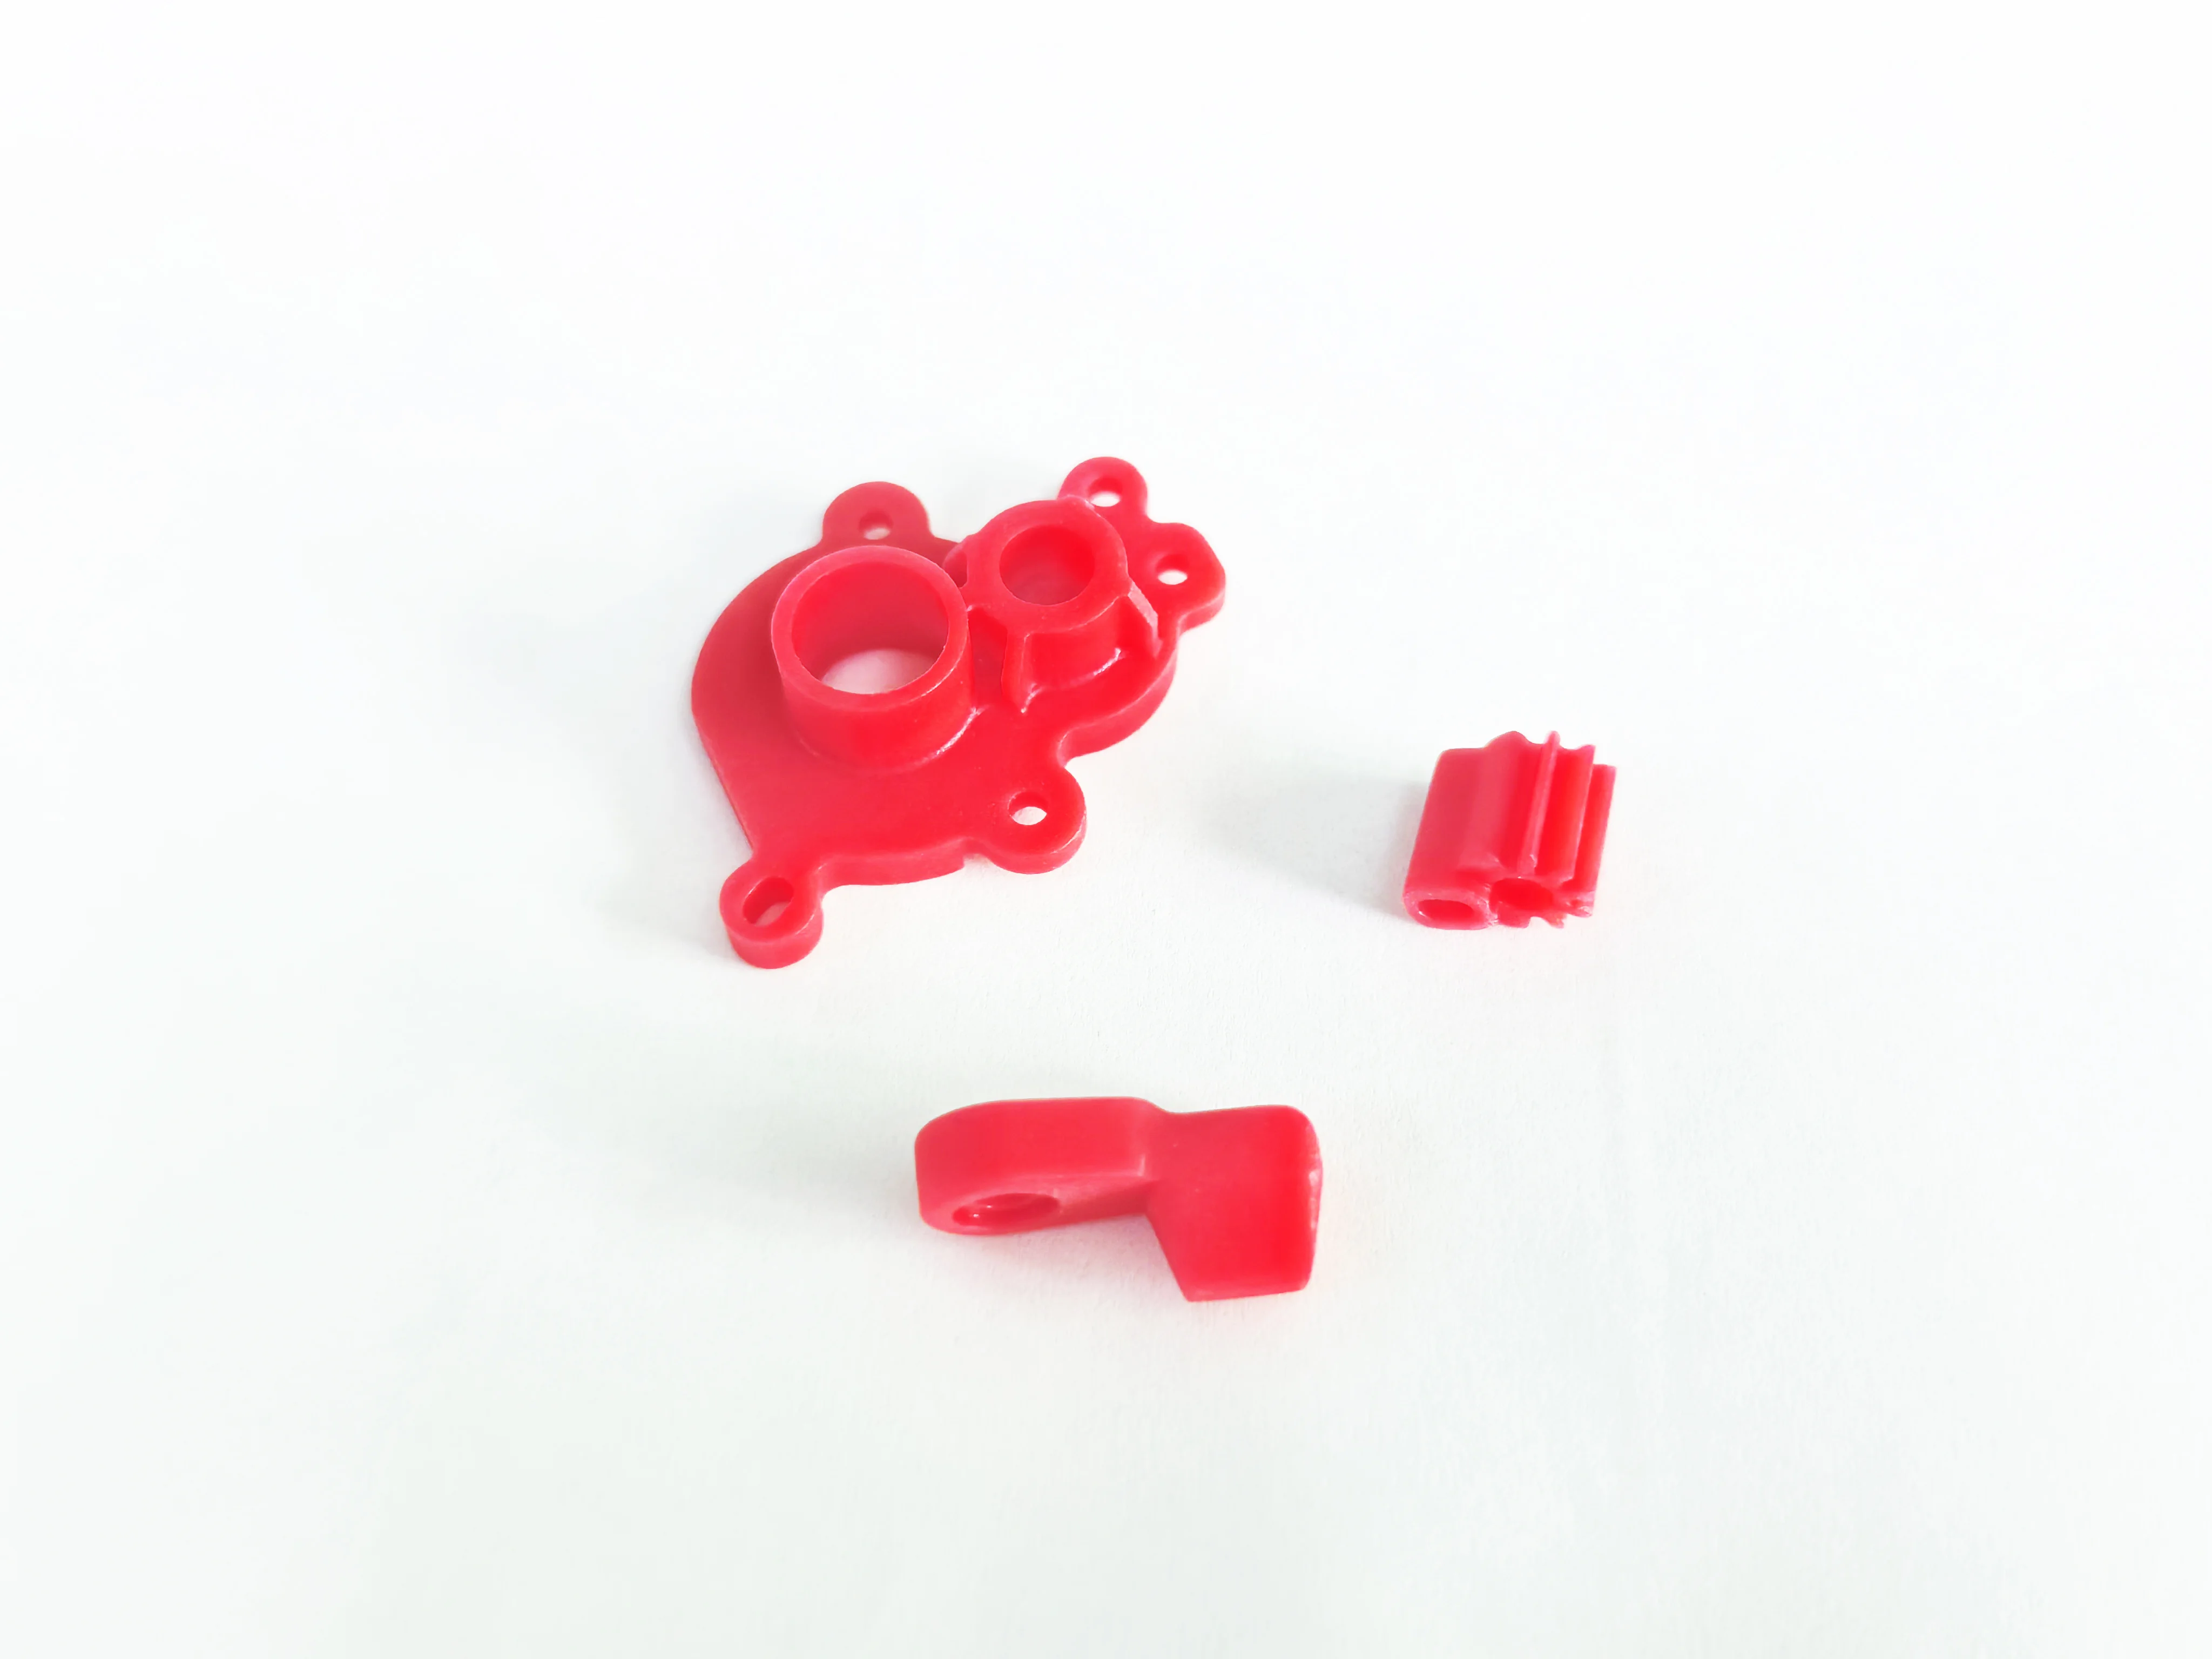
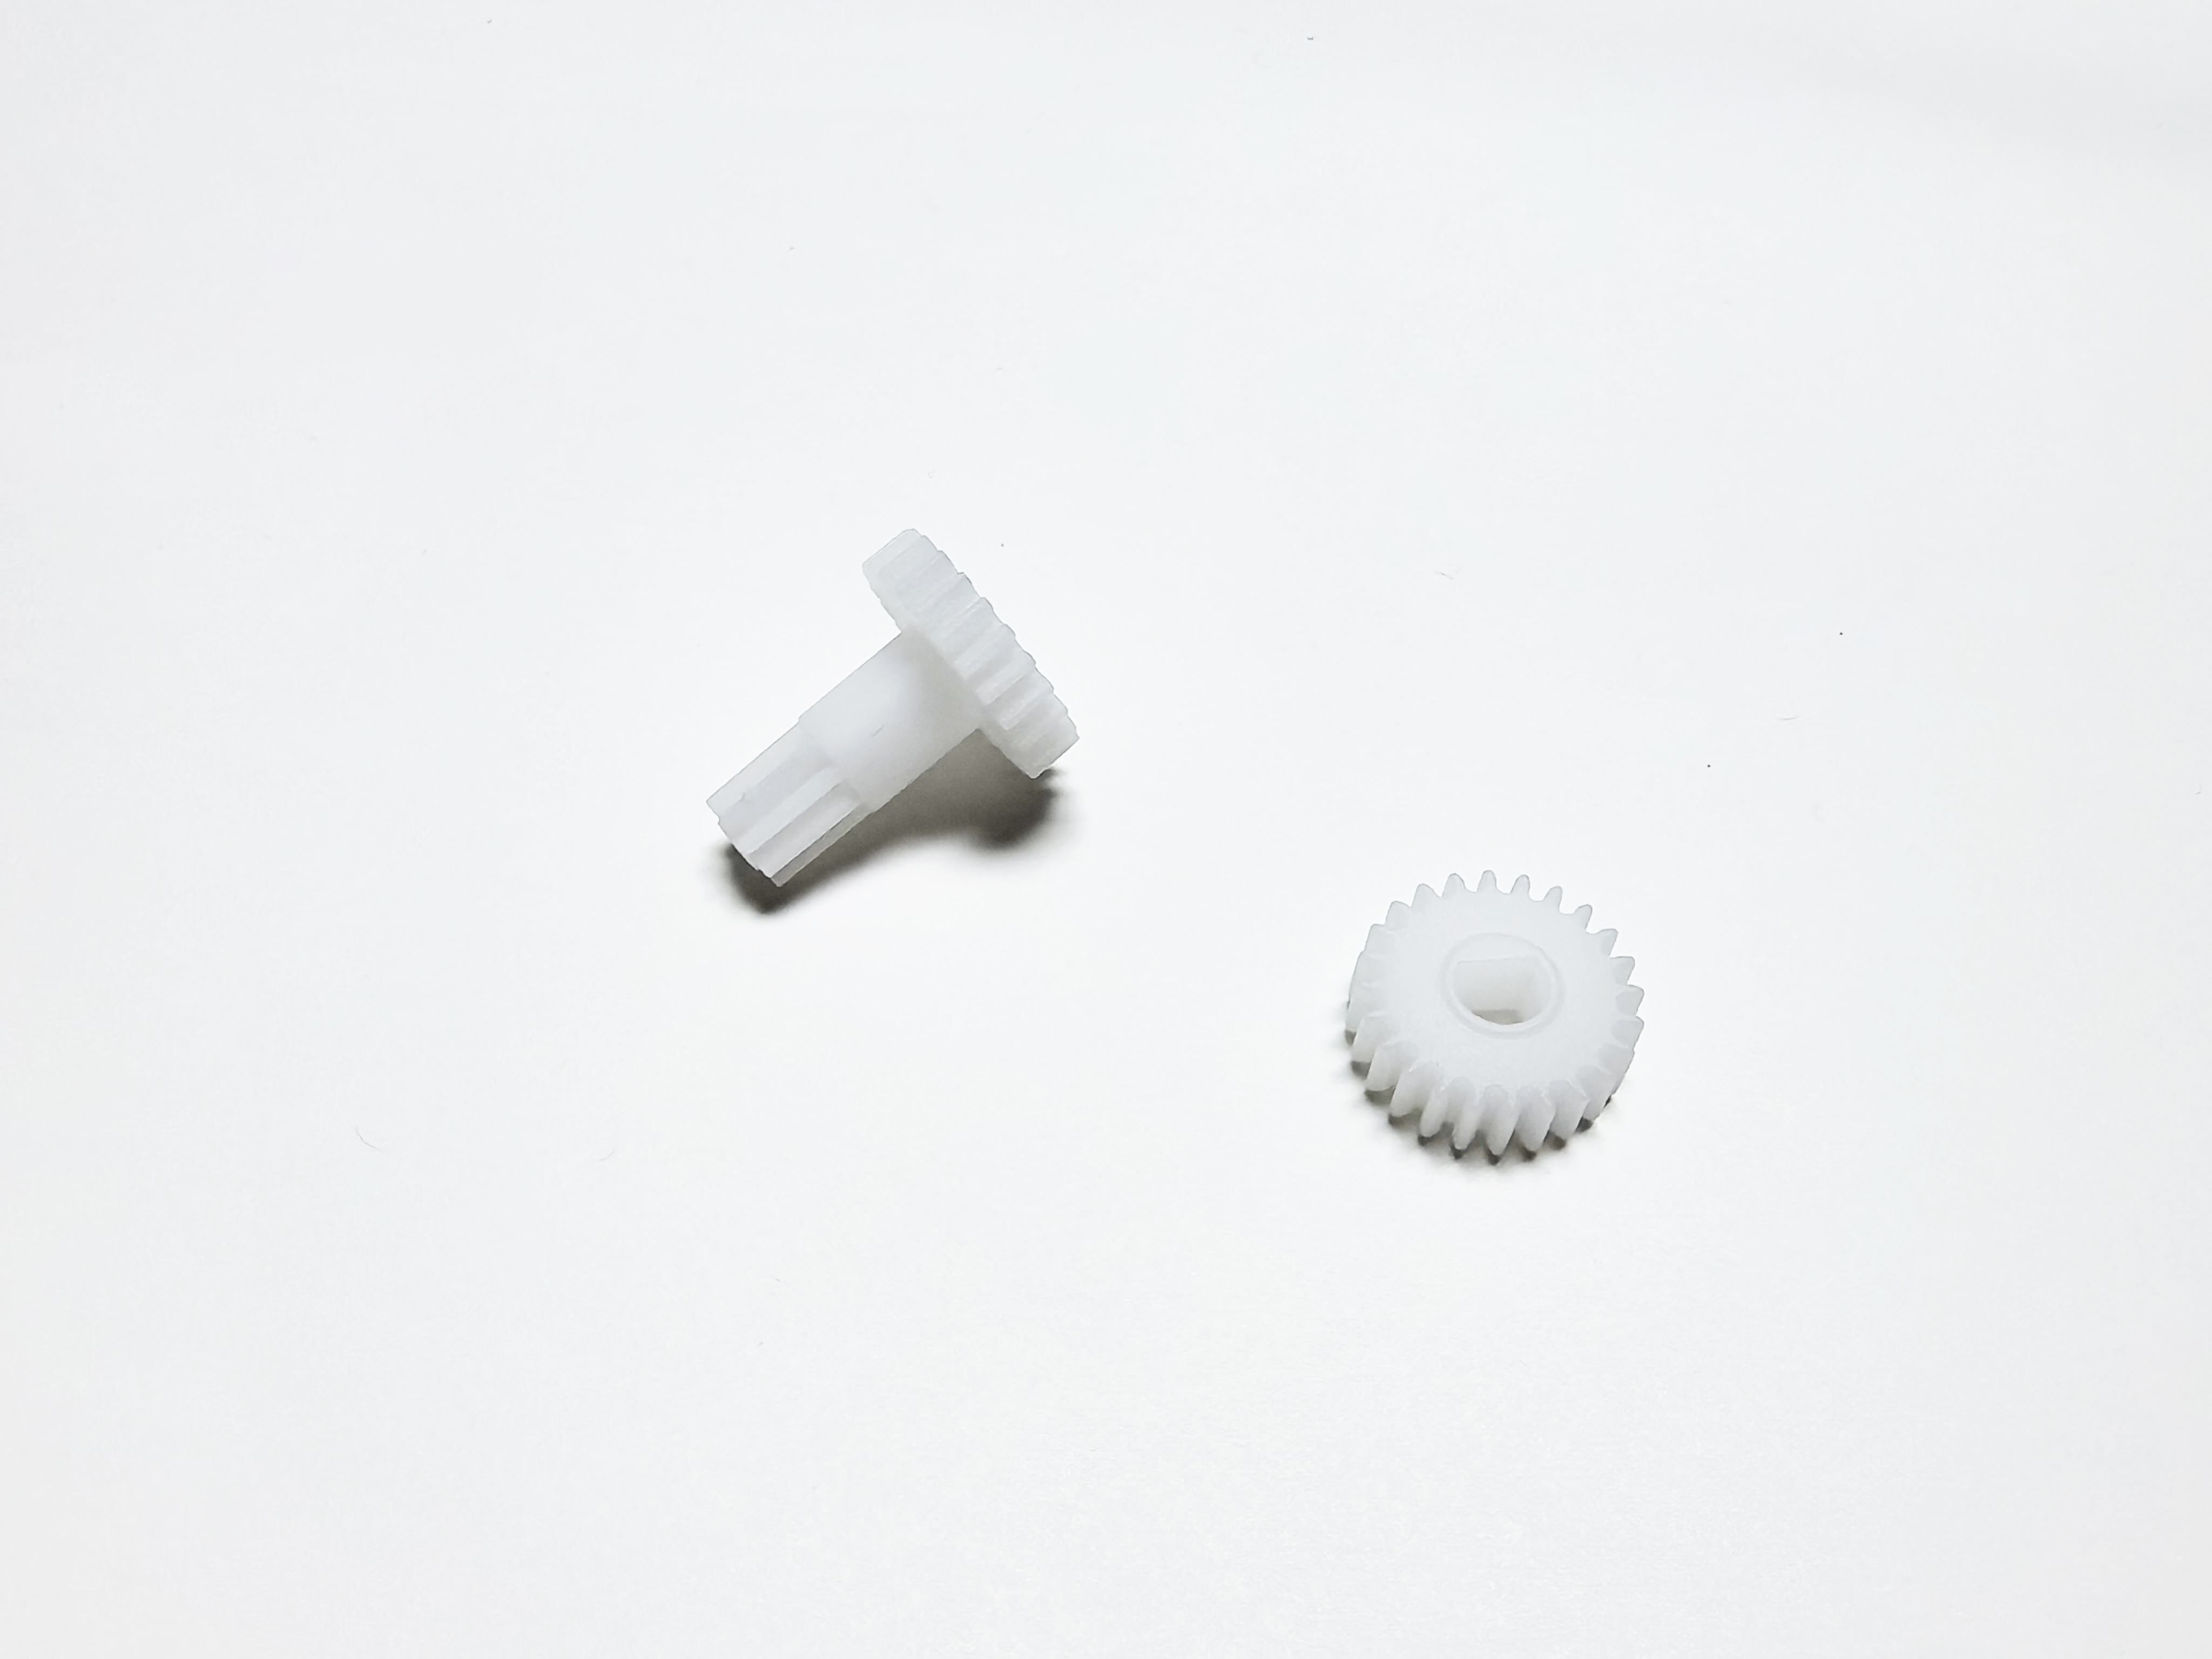
Lathe processing
Material : Brass Processing method: lathe turning Processing time: 4-5 days
Category:
Keywords:
Lathe processing
Factory Display
Q&A
Related Products





 Inquiry Hotline:


